
Welcome to Gohall
Instructions
& safety
Choose the product on your packaging to find its instructions.
Safety Data Sheets
Find safety information for your cleaning product.
View safety data sheets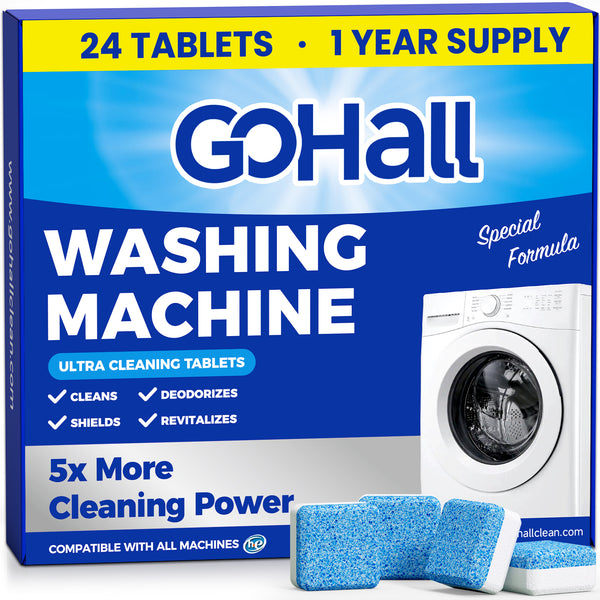
Cleaning tablets
Washing Machine Cleaner Tablets
View instructions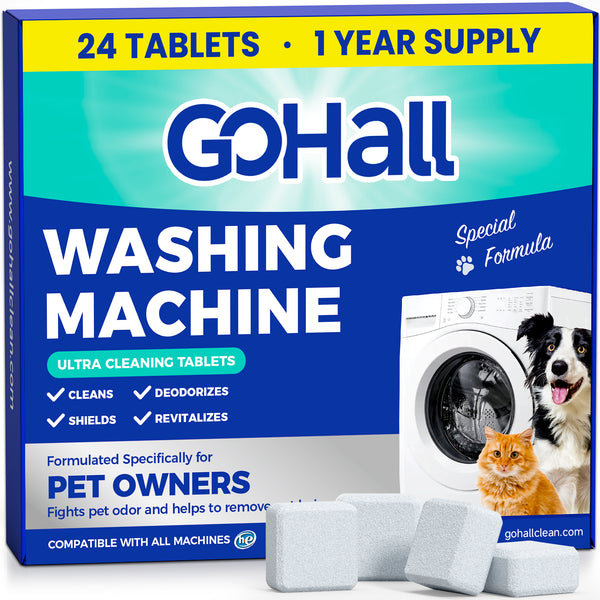
Cleaning tablets
Washing Machine Cleaner Tablets for Pet Owners
View instructions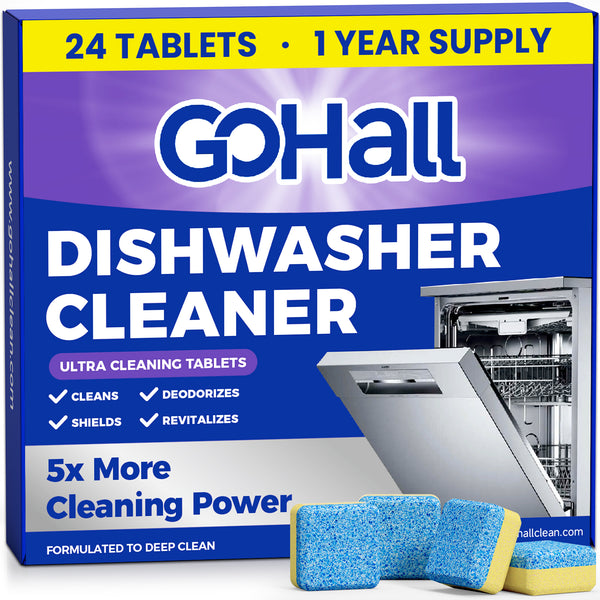
Cleaning tablets
Dishwasher Cleaner & Deodorizer Tablets
View instructions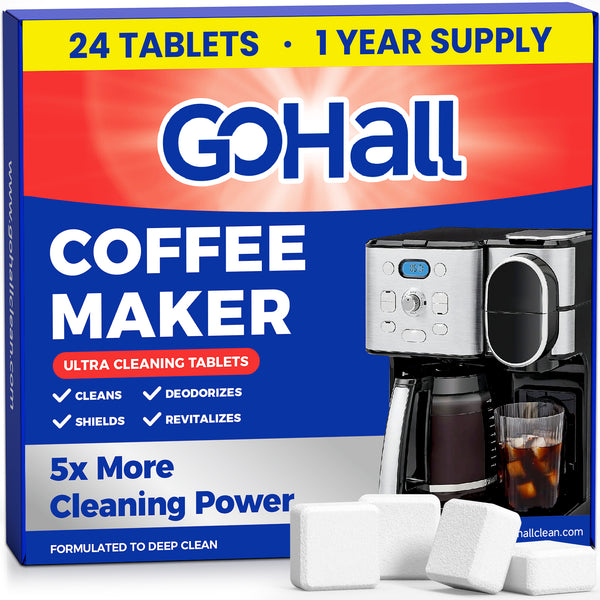
Cleaning tablets
Coffee Maker Cleaner Tablets
View instructions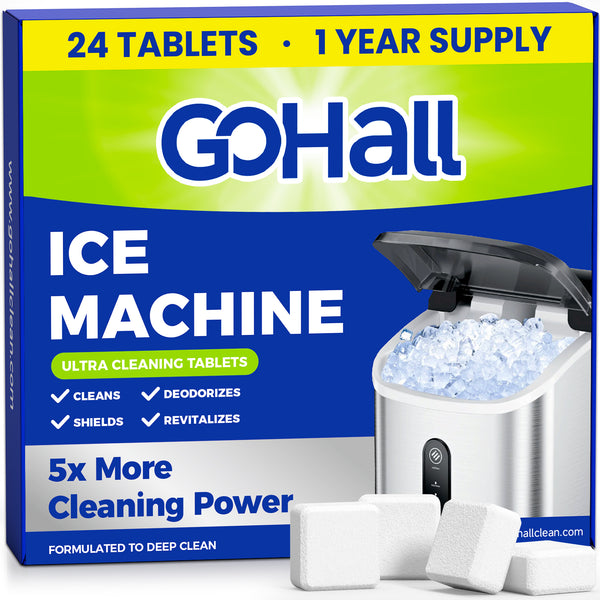
Cleaning tablets
Ice Machine Cleaner Tablets
View instructions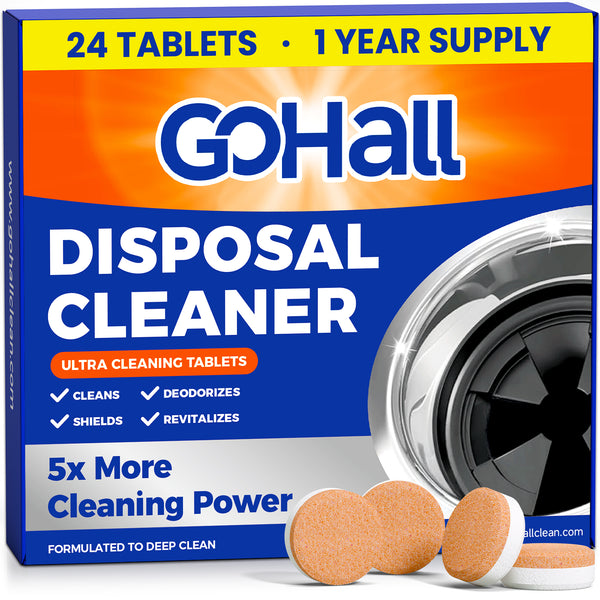
Cleaning tablets
Garbage Disposal Cleaner & Deodorizer Tablets
View instructions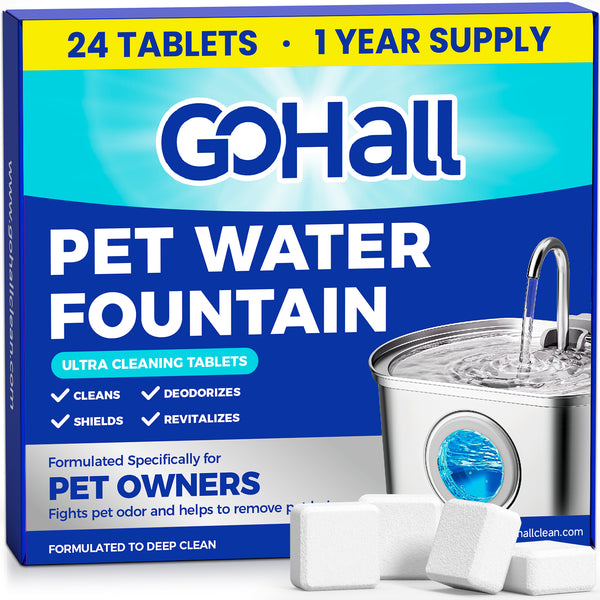
Cleaning tablets
Pet Water Fountain Cleaner Tablets
View instructions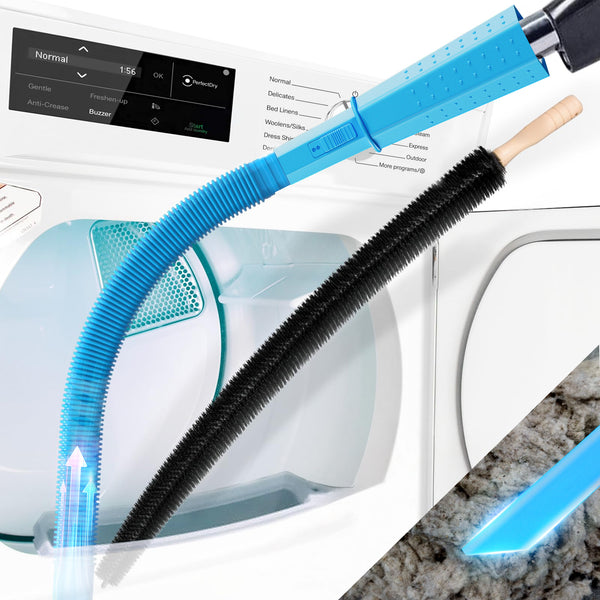
Cleaning tools
Dryer Vent Vacuum Attachment & Lint Brush Kit
Blue · with lint brush
View instructions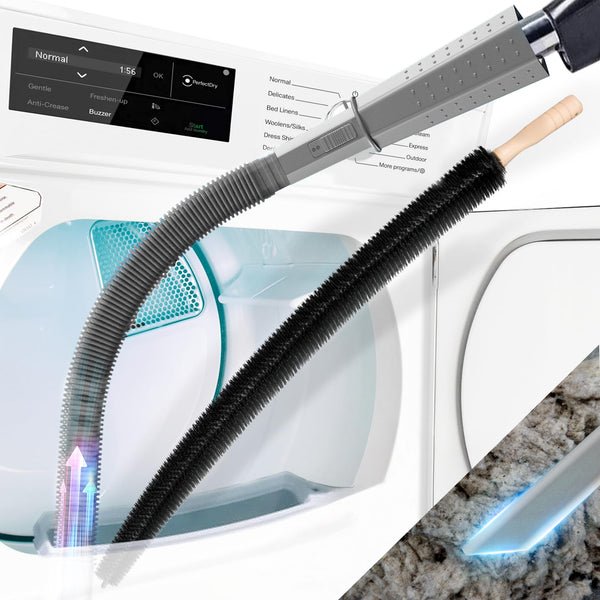
Cleaning tools
Dryer Vent Vacuum Attachment & Lint Brush Kit
Gray · with lint brush
View instructions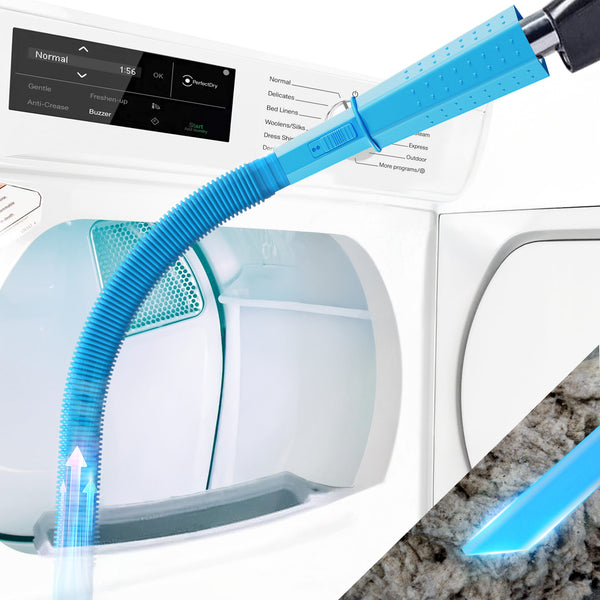
Cleaning tools
Dryer Vent Vacuum Attachment
Blue · attachment only
View instructions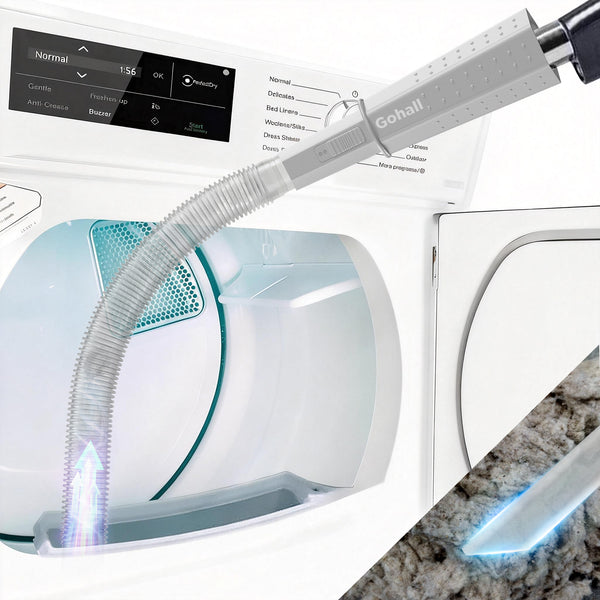
Cleaning tools
Dryer Vent Vacuum Attachment
Clear View · attachment only
View instructions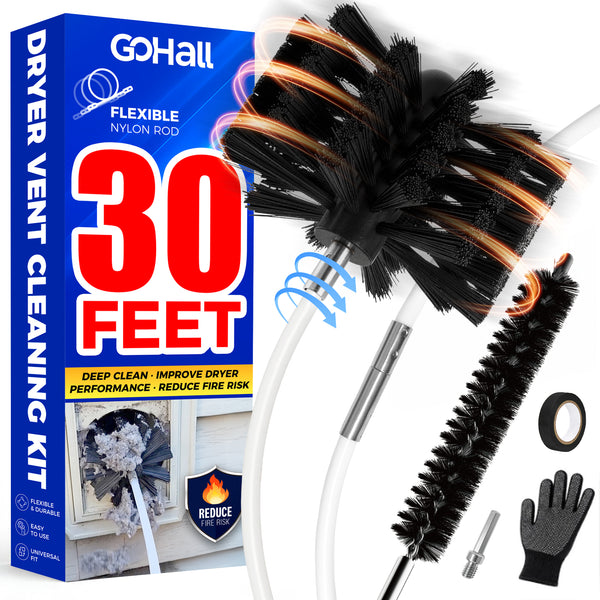
Cleaning tools
Dryer Vent Cleaning Kit with Flexible Nylon Rods
30 ft · flexible nylon rods
View instructions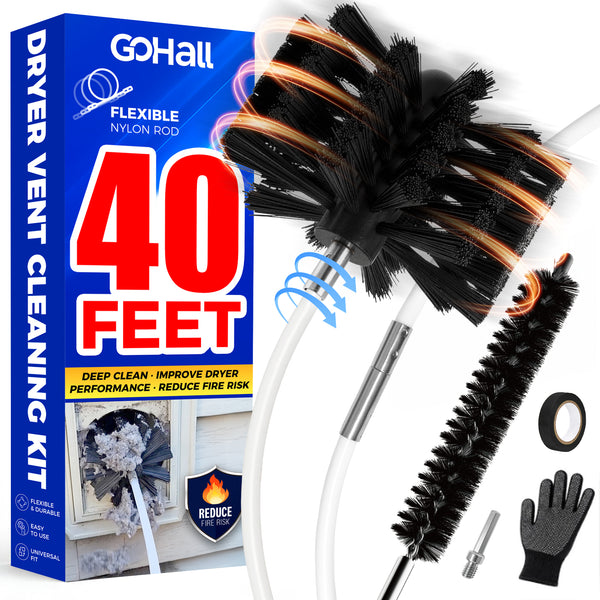
Cleaning tools
Dryer Vent Cleaning Kit with Flexible Nylon Rods
40 ft · flexible nylon rods
View instructions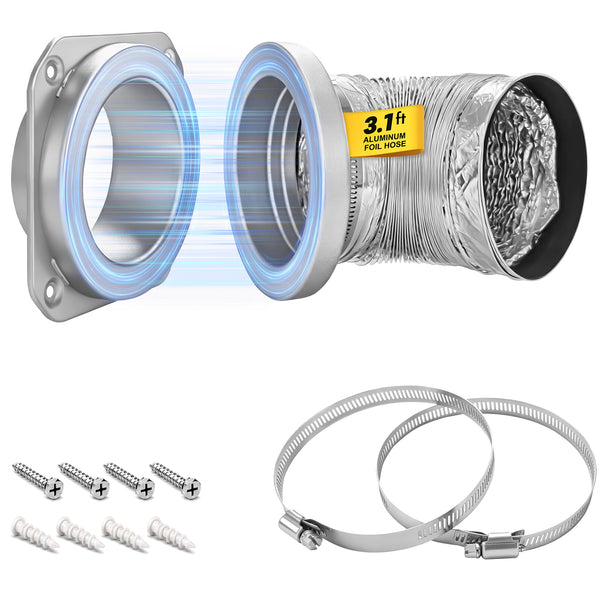
Cleaning tools
Magnetic Dryer Vent Coupling Kit
4 in · straight 180°
View instructionsNo matching product yet
Try the appliance name, color or length printed on your packaging.
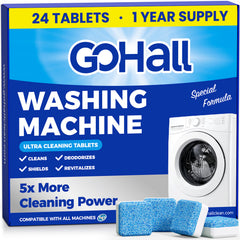
Follow your washer’s manual. Illustrations show a front-loader; controls may differ.
Start with an empty washer
Remove all laundry. Use the tablet by itself, without detergent or other cleaning products.
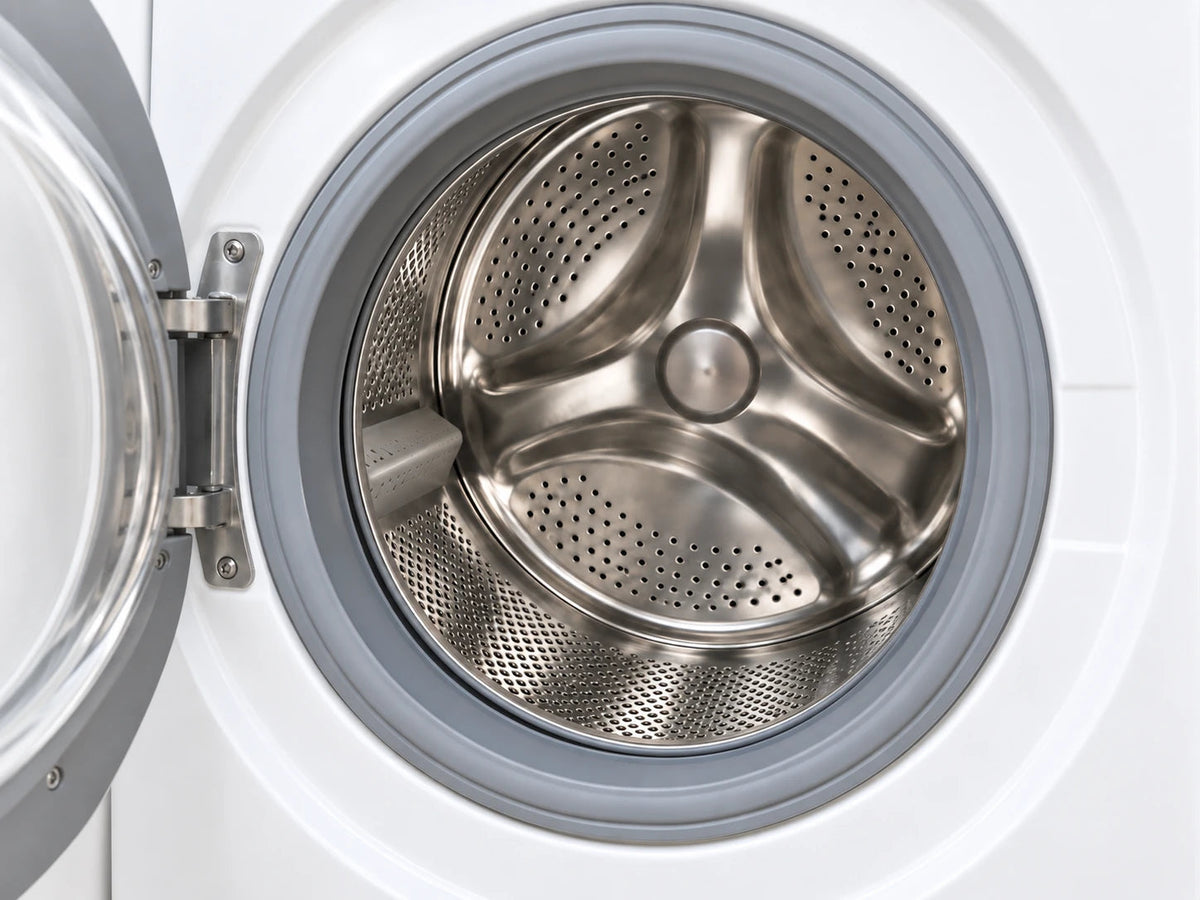
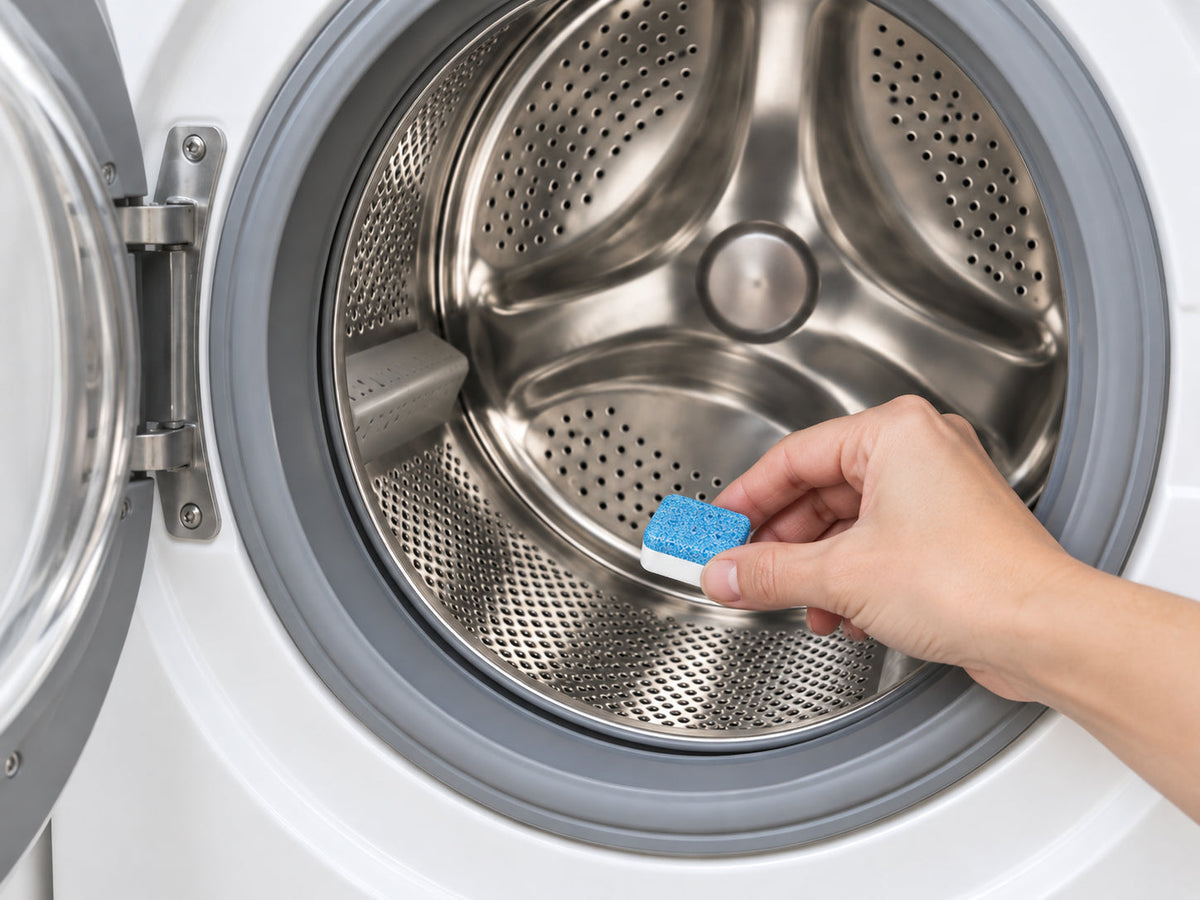
Place one unwrapped tablet in the drum
Remove the wrapper, then put one tablet directly in the drum. Keep it out of the detergent drawer.
Tablet in the drum. Wrapper in the trash.
Run the cleaning cycle
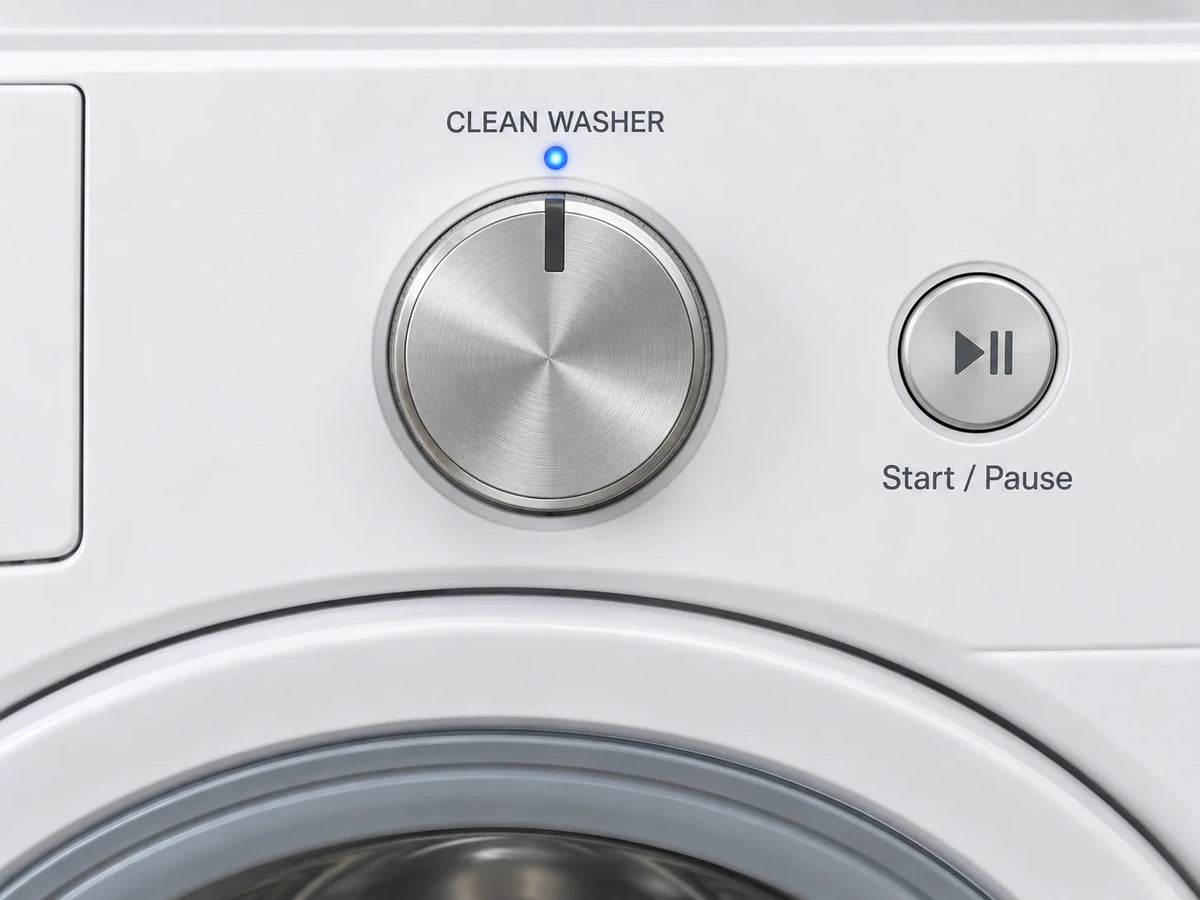
Use your machine’s Clean Washer cycle. Otherwise, choose Normal with hot water and the largest load-size setting available. Follow your washer’s manual.
Wipe and air out
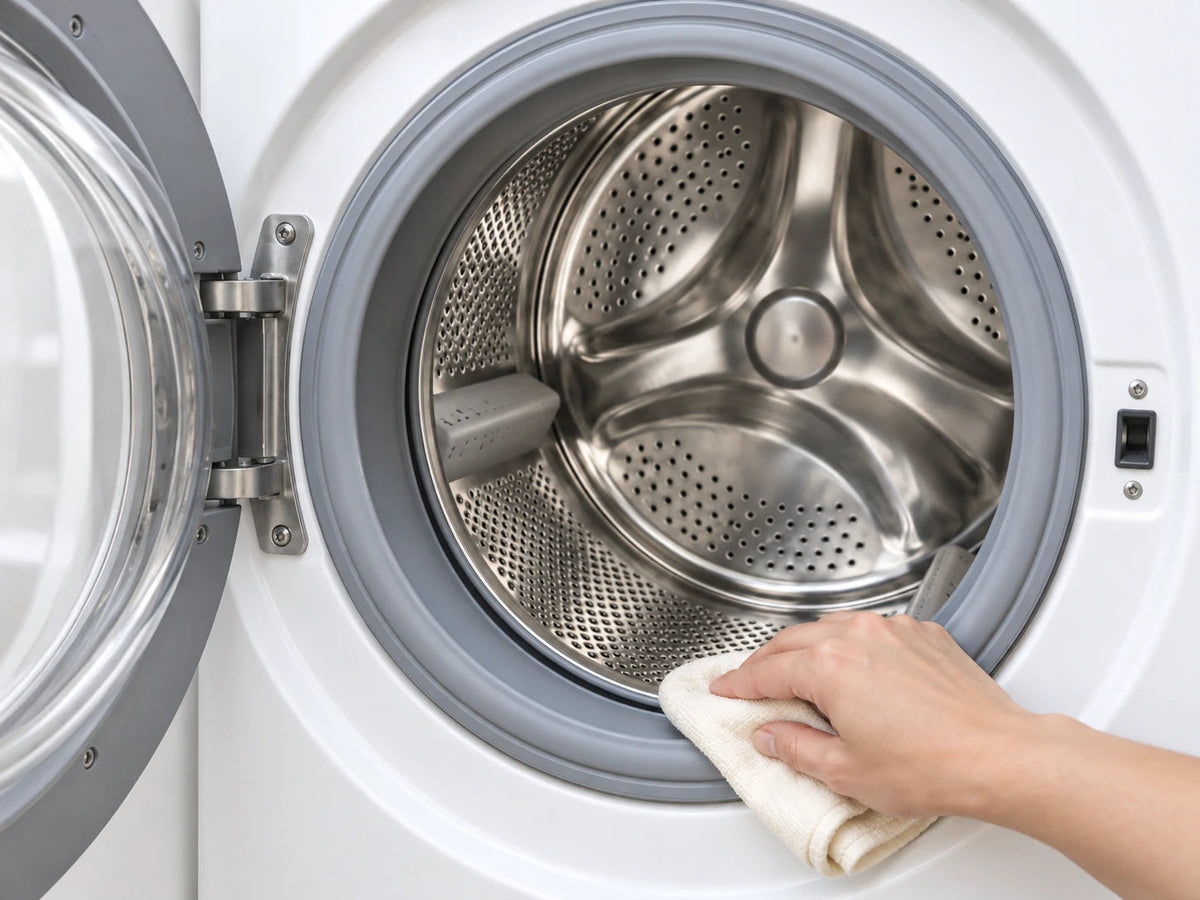
When the cycle finishes, wipe residue from the door seal of a front-loader with a towel. Leave the door open to air out.
Keep the open appliance inaccessible to children and pets.
Keep it in your routine
Use one tablet twice per month. Follow the directions on your pack and your washer’s manual.
Where does the tablet go?
Remove the wrapper and place one tablet directly in the empty drum. Do not put it in the detergent drawer.
Which cycle should I choose?
Use your machine’s Clean Washer cycle, or Normal with hot water and the largest available load-size setting, following your washer’s manual.
Can I add clothes, detergent or another cleaner?
No. Use the cleaner by itself in an empty washer.
Something still unclear?
Have the product name, version and details of your setup ready.
Images are instructional illustrations, not product tests. Keep the directions on your Gohall packaging with the product.
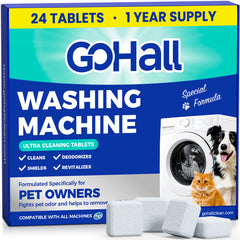
Use: One tablet in an empty washer. Check your washer manual and use without laundry, detergent or other cleaners. Keep children and pets away during the cycle.
-
Remove laundry
Start with an empty drum, without detergent or another cleaner.
-
Add one tablet
Remove the wrapper and put one tablet in the empty drum, not the detergent drawer.
-
Run a hot clean
Use Clean Washer or a hot Normal cycle at the largest permitted water level.
-
Finish the reset
Wipe loose residue from the seal and let the washer air out safely.
Use one tablet twice a month for routine care. Remove visible hair from accessible seals and filters as your washer manual directs.
Something still unclear?
Have the product name, version and details of your setup ready.
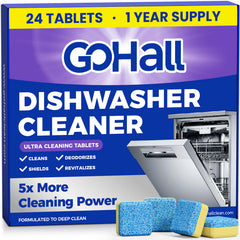
Use: One tablet per empty cleaning cycle. This cleaner is not dishwashing detergent. Remove all dishes and use without other cleaning products.
-
Clear the racks
Remove all dishes and check the filter for loose food.
-
Add one tablet
Remove the wrapper and put one tablet in the detergent dispenser. Use only one tablet per cycle, without dish detergent or another cleaner.
-
Run the cycle
Select the machine-cleaning or Normal cycle specified by your manual.
-
Let it air out
After the cycle, let the interior dry with the door ajar when safe.
Clean twice a month. For a first cleaning or heavy buildup, repeat with one tablet in a separate cycle. Maintain the filter as your manual directs.
Something still unclear?
Have the product name, version and details of your setup ready.
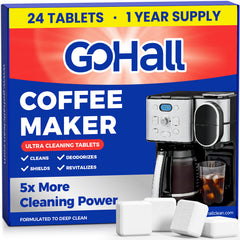
Use: One tablet with a reservoir filled to its maximum fill line. These directions are for compatible drip and single-serve coffee makers. Check the approved method before using in an espresso machine; reservoir cleaning and backflushing are different tasks. Never drink cleaning or rinse water.
-
Prepare the machine
Remove coffee, pods and grounds. Follow your model's filter-removal instructions.
-
Dissolve one tablet
Fill the reservoir to its maximum fill line with water, add one unwrapped tablet and let it dissolve completely.
-
Run without coffee
Without coffee, run one full brew on a drip maker or two largest-cup brews on a single-serve maker. Discard the used solution after each brew.
-
Rinse with fresh water
Empty the remaining solution and refill to the maximum fill line with fresh water. Run one full water-only brew on a drip maker or two largest-cup water-only brews on a single-serve maker. Discard each rinse and complete any extra rinses required by your manual.
For typical daily use, clean twice a month. Use one tablet per cleaning; repeat with a fresh tablet in a separate cleaning if heavy buildup remains.
Something still unclear?
Have the product name, version and details of your setup ready.
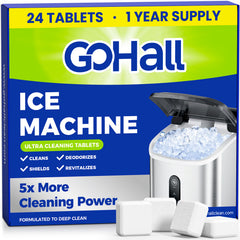
Use: One tablet per cleaning in a compatible standalone ice machine. Not for refrigerator or freezer ice makers. Remove all ice first and discard ice made during cleaning. Follow your machine’s access and rinse requirements.
-
Empty the machine
Turn off ice production, remove ice and drain old water as your manual directs.
-
Dissolve one tablet
For a compatible residential machine, add one unwrapped tablet to the water pan and fill with fresh water to the maximum fill line. Let the tablet dissolve completely.
-
Run the clean cycle
Run the machine’s cleaning program, then drain the solution. For a compatible commercial unit, follow its access procedure and add one unwrapped tablet once the cleaning-cycle water trough has filled.
-
Rinse before making ice
Refill with fresh water, run a second cleaning or rinse cycle and drain. Complete any additional rinses your manual requires. Turn off the machine before wiping loose residue from the bin; rinse fully before making ice.
Follow your machine’s cleaning schedule and rinse requirements. Use one tablet per cleaning. Do not use the cleaner if your machine’s manual does not permit this procedure.
Something still unclear?
Have the product name, version and details of your setup ready.
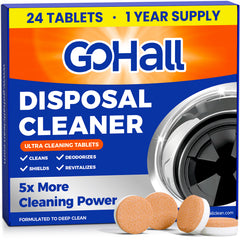
Use: One tablet for routine cleaning; two for a first cleaning or heavy residue. Use in a working, empty disposal without other cleaners. This does not unblock a drain or repair a jam. Keep hands and utensils out.
-
Warm up the water
With an empty disposal switched off, run a full stream of hot water for one minute.
-
Add the tablet
Reduce the water to a trickle thinner than a pencil and aim it away from the drain. With water running, put one unwrapped tablet inside the disposal without reaching in. Use two tablets for a first cleaning or heavy residue.
-
Run the disposal
Run the disposal for about one minute with water flowing. Keep hands and utensils out of the opening.
-
Flush the foam
If foam rises into the sink, keep the disposal and water running until it drains. Rinse away any remaining sink foam, then turn off the disposal.
Clean twice a month for routine care. Use one tablet normally, or two for a first cleaning or heavy residue. Resolve a blockage or jam before cleaning.
Something still unclear?
Have the product name, version and details of your setup ready.
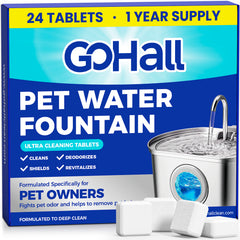
Cleaning only: Choose the tablet dose for the volume of cleaning water below. Use warm water, wait 3 minutes, then circulate for 15–20 minutes. Keep pets away until rinsing is complete and the fountain is refilled with drinking water.
Use the actual cleaning-water volume, from 1 to 16 L. For example, 3.2 L uses 1 tablet.
| Water volume | Tablets |
|---|---|
| 1 L to under 4 L | 1 tablet |
| 4 L to under 7 L | 2 tablets |
| 7 L to under 12 L | 3 tablets |
| 12–16 L | 4 tablets |
-
Prepare the fountain
Turn off and unplug the fountain. Drain it completely and remove the filter(s). Keep pets away during cleaning.
-
Add the tablets
Remove the tablet wrapper(s). Add the number of tablets shown in the water-volume table for the cleaning water you will use.
-
Dissolve in warm water
Add warm water. Wait 3 minutes for the tablet(s) to dissolve.
-
Circulate and drain
Run the fountain for 15–20 minutes, then unplug and drain the cleaning solution completely. Do not let pets drink during cleaning.
-
Rinse with fresh water
Add fresh water, run the fountain for 2 minutes, then unplug and drain. Complete 2–3 rinses in total until no residue remains.
-
Finish and refill
Wipe the surfaces, replace the filter(s) and refill with fresh drinking water.
For heavy buildup, run a second cleaning cycle with fresh tablets at the dose shown in the table for the actual cleaning-water volume, then rinse again until no residue remains. Follow your fountain manufacturer’s cleaning and filter-replacement schedule.
Something still unclear?
Have the product name, version and details of your setup ready.
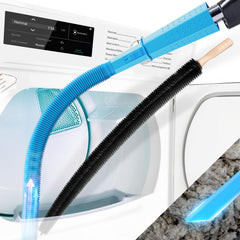
Let the dryer cool and disconnect power as its manual directs. You’ll need your own vacuum. Compare its exact connection with the two assembly methods; brand alone does not confirm fit. Work only on accessible, dry lint.
Prepare the dryer and check access
Let the dryer cool and disconnect power as its manual directs. Remove and clean the lint screen. Inspect the reachable slot without removing guards or panels.
Loosen reachable lint with the brush
Use gentle strokes on accessible dry lint. Do not push the brush around hidden parts or force it into resistance.
Connect the attachment and vacuum
With the vacuum off, choose the method that matches your connection. Method A: Gohall hose → Gohall adapter → vacuum adapter → vacuum hose. Method B: attach your vacuum’s own crevice tool, then connect the Gohall adapter and hose to it. Check that the complete connection is secure; do not force incompatible parts. Test suction, then vacuum the loosened dry lint in areas you can safely reach.
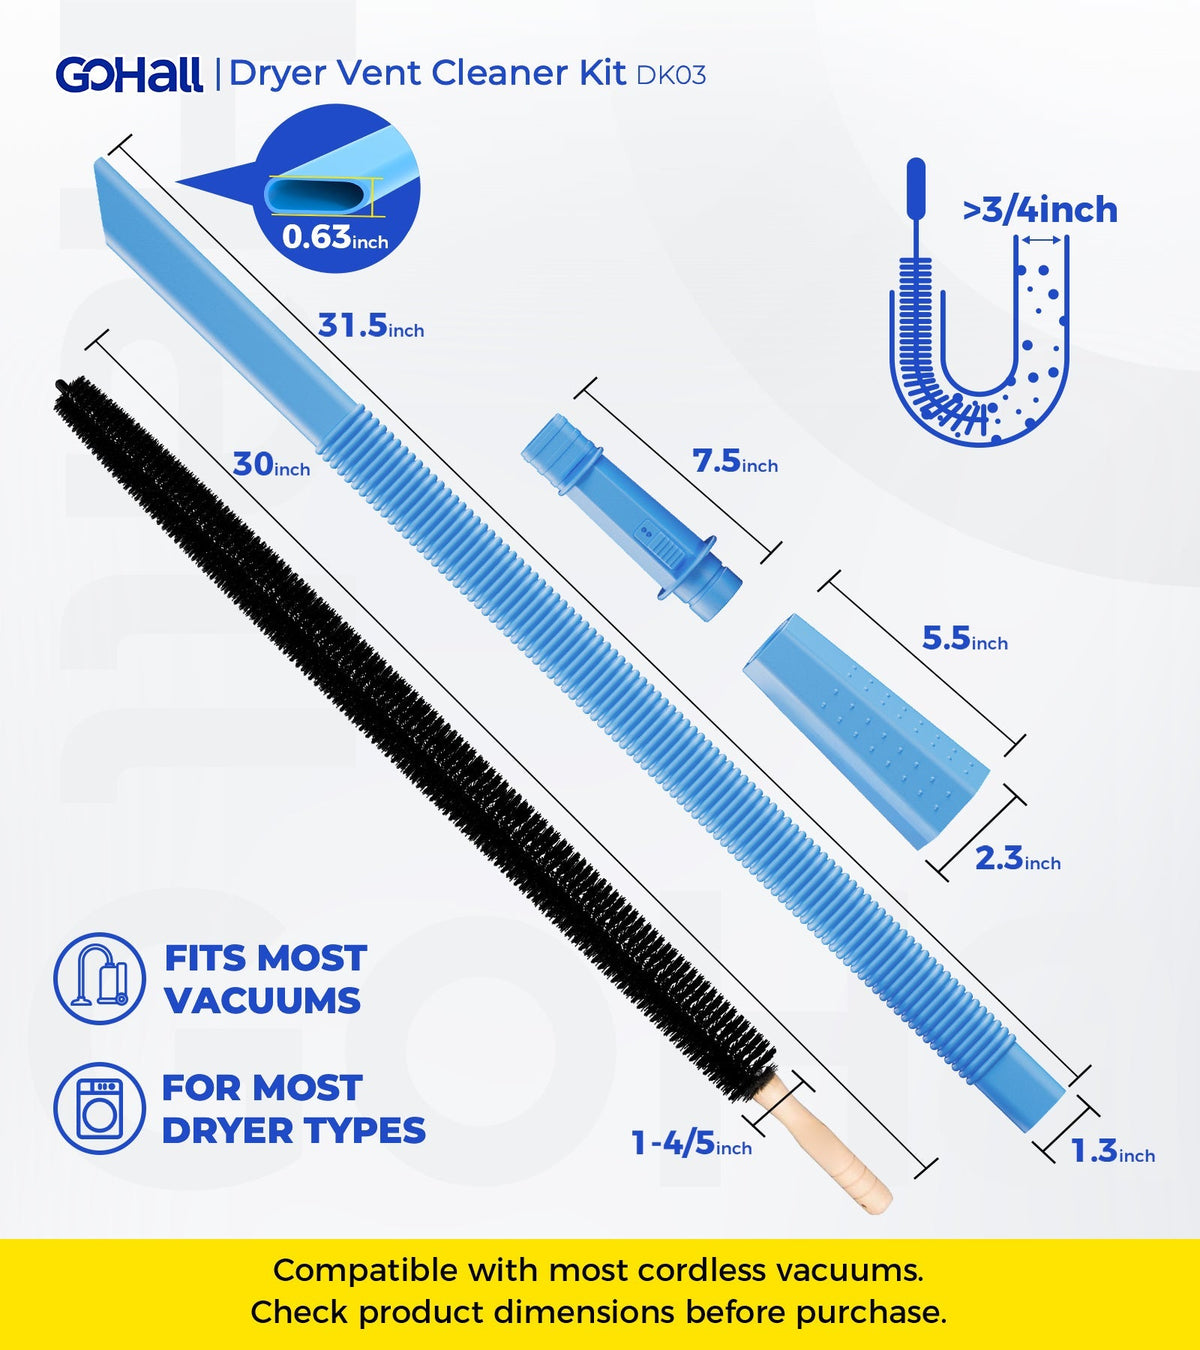
Original component reference, not a connection demonstration. Check the complete assembly and your exact vacuum connection. Remove the tools and replace the screen
Check that no tool parts or debris remain. Reinstall the fully dry screen before using the dryer.
Is the vacuum included?
No. Use your own vacuum and follow the connection steps above.
Does this clean the whole concealed vent?
No. This attachment is for accessible areas within its reach. It does not establish that a concealed vent is clear.
What if the tool meets resistance?
Stop. Do not force a tool around hidden parts. A stuck tool, persistent poor exhaust, unusual heat or scorching odor needs qualified help.
Something still unclear?
Have the product name, version and details of your setup ready.
Images are instructional illustrations, not product tests. Keep the directions on your Gohall packaging with the product.
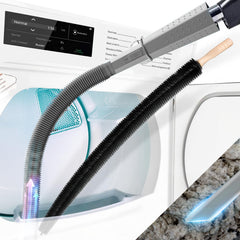
Before you start: Turn off and unplug the dryer, let it cool and use only on accessible dry lint. Check that the complete connection is secure for the assembly method you use. Stop if the dryer overheats, airflow stays weak or the duct appears blocked.
-
Prepare the lint area
Remove and clean the lint screen. Follow your dryer manual for safe access; do not remove protective guards or panels.
-
Loosen accessible lint
Gently guide the supplied brush into the reachable lint path. Pull loose lint out and stop if the brush meets resistance.
-
Connect and vacuum
With the vacuum off, choose the method that matches your connection. Method A: Gohall hose → Gohall adapter → vacuum adapter → vacuum hose. Method B: attach your vacuum’s own crevice tool, then connect the Gohall adapter and hose to it. Check that the complete connection is secure. Turn on the vacuum and guide the nozzle through reachable areas to collect loose lint; do not force it.
-
Restore and check
Turn off the vacuum, remove the attachment and reinstall the clean, dry lint screen. Check that no tools or loose debris remain before using the dryer.
Inspect the equipment and connections before each use. Follow your dryer manual’s maintenance schedule. Stop if parts are damaged, the tool meets resistance or airflow remains poor.
Something still unclear?
Have the product name, version and details of your setup ready.
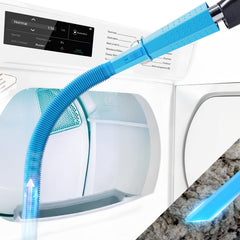
Before you start: Turn off and unplug the dryer and let it cool. Compare your exact vacuum connection with the two assembly methods; a vacuum and separate lint brush are not included. Use on accessible dry lint only. Persistent overheating or poor airflow needs professional attention.
-
Prepare the lint area
Remove and clean the lint screen as your dryer manual directs. If lint is packed, loosen it gently with a suitable brush; this attachment-only product does not include one.
-
Connect the attachment
With the vacuum off, choose the method that matches your connection. Method A: Gohall hose → Gohall adapter → vacuum adapter → vacuum hose. Method B: attach your vacuum’s own crevice tool, then connect the Gohall adapter and hose to it. Check that the complete connection is secure. Do not use a loose or incompatible connection.
-
Vacuum reachable lint
Turn on the vacuum and guide the nozzle through accessible lint paths and narrow gaps. Let suction collect the loose debris. Do not force it through resistance or into protected machine parts.
-
Restore the dryer
Turn off the vacuum and remove the attachment. Reinstall the clean, dry lint screen and inspect the area before using the dryer.
Inspect the equipment and connections before each use. Follow your dryer manual’s maintenance schedule. Stop if parts are damaged, the tool meets resistance or airflow remains poor.
Something still unclear?
Have the product name, version and details of your setup ready.
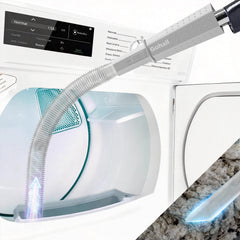
Before you start: Turn off and unplug the dryer and let it cool. Compare your exact vacuum connection with the two assembly methods; a vacuum and separate lint brush are not included. Use on accessible dry lint only. Persistent overheating or poor airflow needs professional attention.
-
Prepare the lint area
Remove and clean the lint screen as your dryer manual directs. If lint is packed, loosen it gently with a suitable brush; this attachment-only product does not include one.
-
Connect the attachment
With the vacuum off, choose the method that matches your connection. Method A: Gohall hose → Gohall adapter → vacuum adapter → vacuum hose. Method B: attach your vacuum’s own crevice tool, then connect the Gohall adapter and hose to it. Check that the complete connection is secure. Do not use a loose or incompatible connection.
-
Vacuum reachable lint
Turn on the vacuum and guide the nozzle through accessible lint paths and narrow gaps. Let suction collect the loose debris. Do not force it through resistance or into protected machine parts.
-
Restore the dryer
Turn off the vacuum and remove the attachment. Reinstall the clean, dry lint screen and inspect the area before using the dryer.
Inspect the equipment and connections before each use. Follow your dryer manual’s maintenance schedule. Stop if parts are damaged, the tool meets resistance or airflow remains poor.
Something still unclear?
Have the product name, version and details of your setup ready.
30 ft · flexible nylon rods
Dryer Vent Cleaning Kit with Flexible Nylon Rods
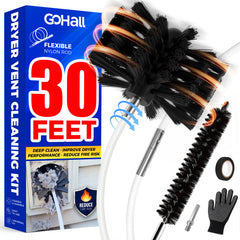
Before you start: Turn off and unplug the dryer and follow its vent-access instructions. Check the duct size, route, bends and condition. The kit is designed for standard 4-inch vents; 30 ft is combined rod reach, not a guarantee that every vent is accessible.
-
Connect only what you need
Secure the appropriate brush and threaded rods for the accessible run. Use manually, or connect a compatible drill with the supplied adapter.
-
Feed while rotating clockwise
Guide the brush gradually into the duct while rotating clockwise only. Stop at resistance; do not force the brush through bends or an obstruction.
-
Withdraw clockwise too
Keep rotating clockwise while drawing the rods out so the threaded connections stay secure. Do not reverse the rotation.
-
Collect lint and reconnect
Collect loosened lint and inspect the accessible duct and vent opening. Reconnect the dryer vent as its manual directs. Seek professional help if blockage, damage or poor airflow remains.
Inspect the equipment and connections before each use. Follow your dryer manual’s maintenance schedule. Stop if parts are damaged, the tool meets resistance or airflow remains poor.
Something still unclear?
Have the product name, version and details of your setup ready.
40 ft · flexible nylon rods
Dryer Vent Cleaning Kit with Flexible Nylon Rods
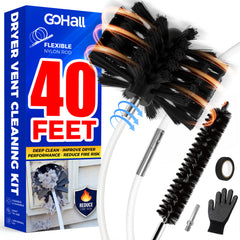
Before you start: Turn off and unplug the dryer and follow its vent-access instructions. Check the duct size, route, bends and condition. The kit is designed for standard 4-inch vents; 40 ft is combined rod reach, not a guarantee that every vent is accessible.
-
Connect only what you need
Secure the appropriate brush and threaded rods for the accessible run. Use manually, or connect a compatible drill with the supplied adapter.
-
Feed while rotating clockwise
Guide the brush gradually into the duct while rotating clockwise only. Stop at resistance; do not force the brush through bends or an obstruction.
-
Withdraw clockwise too
Keep rotating clockwise while drawing the rods out so the threaded connections stay secure. Do not reverse the rotation.
-
Collect lint and reconnect
Collect loosened lint and inspect the accessible duct and vent opening. Reconnect the dryer vent as its manual directs. Seek professional help if blockage, damage or poor airflow remains.
Inspect the equipment and connections before each use. Follow your dryer manual’s maintenance schedule. Stop if parts are damaged, the tool meets resistance or airflow remains poor.
Something still unclear?
Have the product name, version and details of your setup ready.
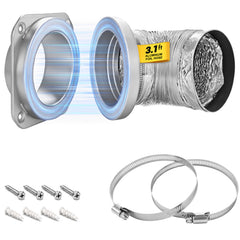
Before you start: Turn off and unplug the dryer. Check the 4-inch connection, straight 180° layout, clearance and mounting surface. Follow the dryer’s venting requirements and the supplied installation directions. Initial mounting requires suitable hardware and may require tools.
-
Prepare the connection
Check the dryer outlet, wall vent and available space against the supplied installation directions. Do not proceed with a damaged or incompatible vent.
-
Mount and secure
Mount the wall coupling using hardware suitable for the surface. Connect the supplied hose and dryer-side adapter using the clamps, following the kit’s directions.
-
Align and inspect
Align the magnetic connection and check that it seats securely. Inspect the hose for crushing, sharp kinks and loose connections before operating the dryer.
-
Disconnect for access
With the dryer off and unplugged, separate the magnetic connection when maintenance access is needed. Reconnect and inspect it before the next use. This coupling kit does not include cleaning brushes or rods.
Inspect the equipment and connections before each use. Follow your dryer manual’s maintenance schedule. Stop if parts are damaged, the tool meets resistance or airflow remains poor.
Something still unclear?
Have the product name, version and details of your setup ready.